Three image-translation examples
English to Spanish, checked September 9, 2026. These original synthetic images contain no personal information. OCR matched all ten source lines, including the two prices, capacity and batch code.
The reference run used Tesseract.js 7 in Node and the live Fitabyte translation API. The PNGs use the same text-placement function as this tool, rendered with a server canvas adapter. They are reference outputs; browser fonts and provider responses can differ. View measurements and method.
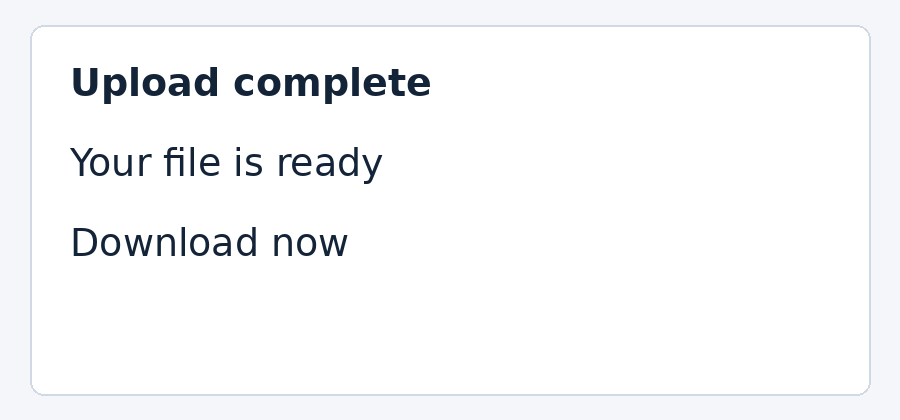
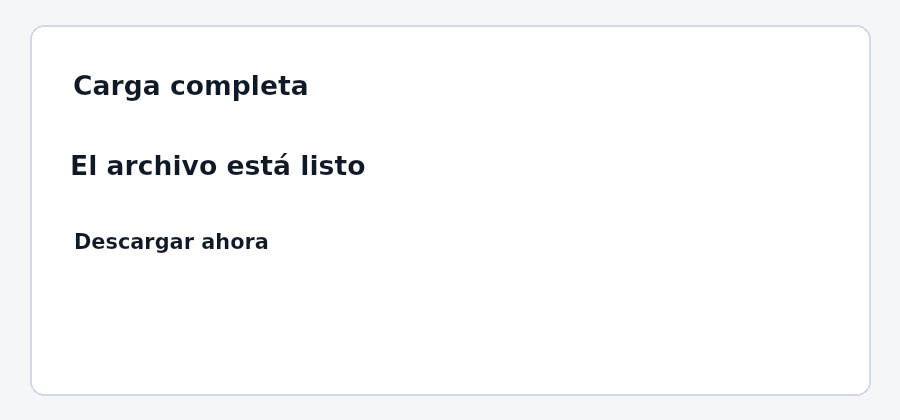
Screenshot-style notice
| OCR source | Translation returned |
|---|---|
| Upload complete | Carga completa |
| Your file is ready | El archivo está listo |
| Download now | Descargar ahora |
OCR matched all three source lines. Translation used complete Spanish phrases; compare the different text lengths in the same boxes.
Download source PNG · Download translated reference · Load this image in the translator
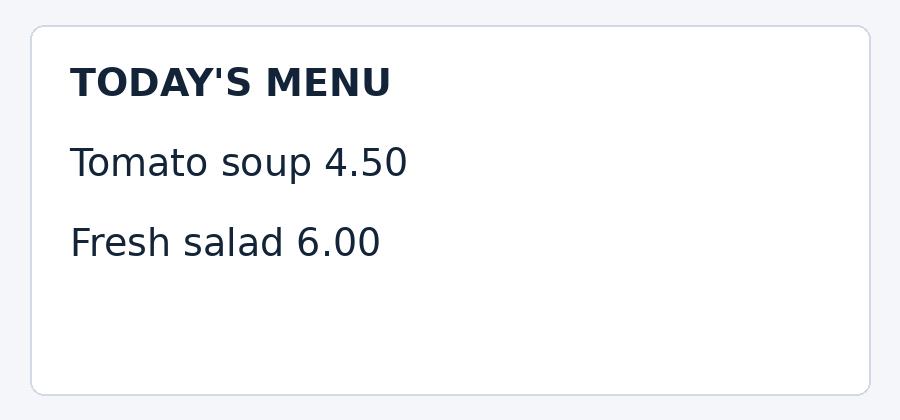
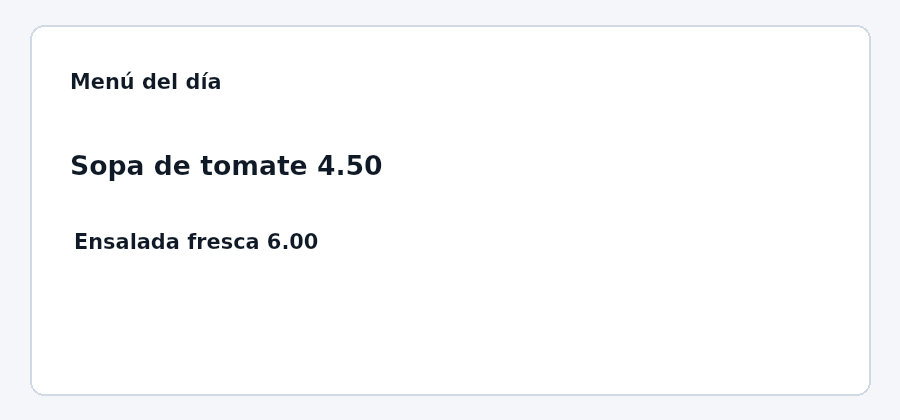
Fictional menu
| OCR source | Translation returned |
|---|---|
| TODAY'S MENU | Menú del día |
| Tomato soup 4.50 | Sopa de tomate 4.50 |
| Fresh salad 6.00 | Ensalada fresca 6.00 |
OCR preserved both prices; the translation kept 4.50 and 6.00. The title became “Menú del día”.
Download source PNG · Download translated reference · Load this image in the translator
Fictional storage label
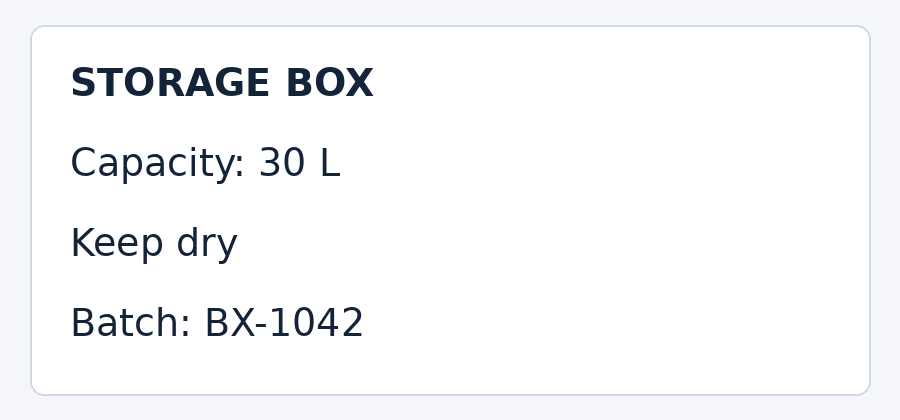
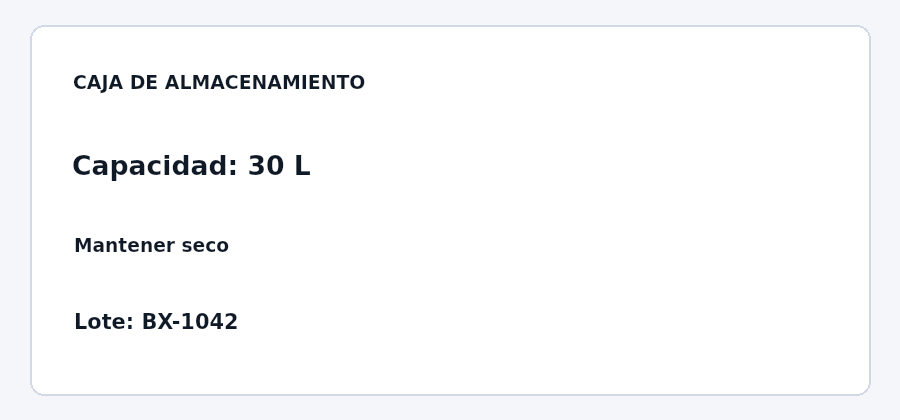
| OCR source | Translation returned |
|---|---|
| STORAGE BOX | CAJA DE ALMACENAMIENTO |
| Capacity: 30 L | Capacidad: 30 L |
| Keep dry | Mantener seco |
| Batch: BX-1042 | Lote: BX-1042 |
OCR preserved the capacity, unit and batch code. The longer Spanish title uses smaller lettering inside the original title box.
Download source PNG · Download translated reference · Load this image in the translator
What these examples reveal
Translation length affects readability even when OCR is correct. The storage-label heading expands to “CAJA DE ALMACENAMIENTO”, so it is reduced to fit the original box. The tool paints a white area over recognized text; it does not reconstruct the background underneath. Review both the text table and the image before downloading.
These clean printed samples do not test glare, curved packaging, handwriting or every language pair. Six source OCR languages and fourteen target languages are available in the selectors; only English to Spanish was checked in this record.
A photographed menu or package creates recognition problems that a clean screenshot does not: perspective, lens distortion, reflections, curved surfaces, decorative fonts, shadows, and tiny legal text. Translation quality improves when you fix the photograph before asking OCR to interpret it.
Capture a translation-friendly photo
- Move closer instead of relying on digital zoom.
- Hold the camera parallel to flat signs or menus.
- Avoid glare by changing angle or lighting.
- Capture several sections separately when text is tiny.
- Keep labels upright when possible.
- Use the highest-quality original rather than a social-media repost.
Information that deserves extra checking
| Material | Why it is tricky | What to verify |
|---|---|---|
| Menu | Prices, allergens, dish names | Numbers, currency, ingredients |
| Product package | Brand names and units | Model names, weight, volume, warnings |
| Road/public sign | Short phrases depend on context | Direction, prohibition, distance |
| Cosmetic/food label | Dense tiny print | Ingredients, dates, safety statements |
A practical photo-translation workflow
- Crop to one readable sectionA focused crop usually improves recognition and reduces unrelated text.
- Open Image TranslatorChoose the prepared photo in Image Translator.
- Review recognitionCheck brand names, numbers, dates, and units before relying on the translated wording.
- TranslateChoose the target language and inspect whether longer phrases still fit the visual layout.
- Keep the original beside the resultUse both during review so important values can be compared directly.